Use AI to Generate an Animated 3D Video Game Character
Learn how to use Charmed AI tools to build a 3D video game character with animations in just a few minutes.
February 23, 2024
At Charmed, we are serious about making it easy to bring your game idea to life. We've built games before, so we know that takes more than static assets and pretty pictures. It means supporting the full art process, from idea all the way to integration in the game engine. That's why we built a collection of tools that can be combined to fit into your workflow.
In this article, we'll walk through how to use these tools to take a character idea and turn it into an asset ready for game engine integration.
- We'll use the Geometry Generator, our text to 3D model tool, to iterate through character designs and generate 3D meshes standing in a T-pose.
- We'll use the Texture Generator, our text to UV-unwrapped material tool, to tweak and iterate on the character's texture.
- Finally, we'll use the 3D Animator to automatically rig and skin our mesh and then select animations to match the actions we'd like to see in game.
If you're a more visual learner, you can see a walkthrough of our end-to-end tools in this video.
Character design starts with an idea.
When you log in to Charmed, you'll start in the Project Navigator. This is a cloud asset manager that you can use to manage all of the assets you upload or generate. From here, you can launch any Charmed app to work on 3D meshes, PBR materials, or animations. We'll kick things off by opening the Geometry Generator.
Character design starts with an idea. You need to be able to picture the character (or something like it) in your mind so you can describe it in the prompt box. If you already have a concept image of the character facing forward in a T-pose, you can click the “Image” tab to use our image to 3D model capability directly. If you're having trouble getting started, you can pop over to our Quest Generator to brainstorm characters for your game world.
I'm building a game that takes place in a cartoony outer-space setting where the player has to start at the bottom before saving the galaxy. I want to create the NPC which will serve as the player's robotic helper who serves as the pilot and engineer of the spaceship. Initially, I use this prompt:
Once you click the “Preview” button, you'll be taken to the Preview screen where you'll see 2D images of your character. If you see something you like, you can select it and click “Generate Geometries” to produce a 3D model.
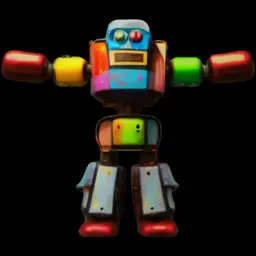
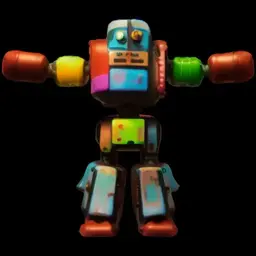
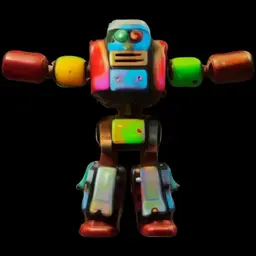
In my case, I saw these preview images:
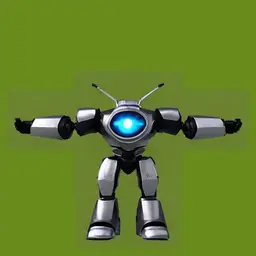
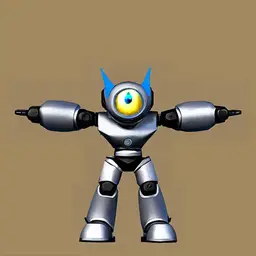
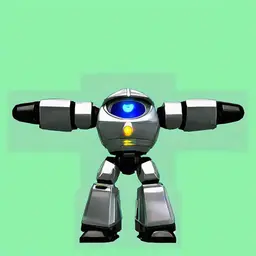
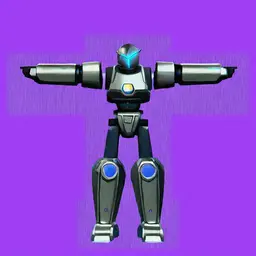
I selected the second one and ended up with this 3D model:
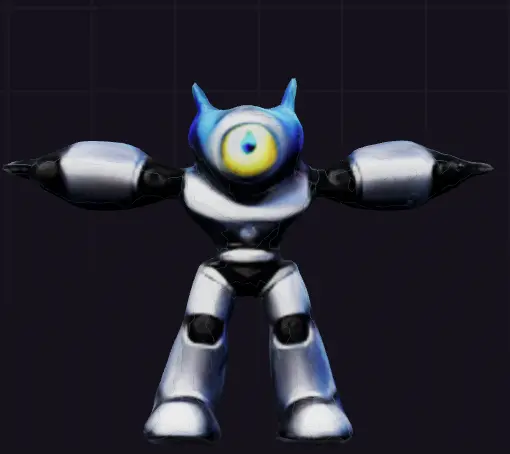 See it in 3D here .
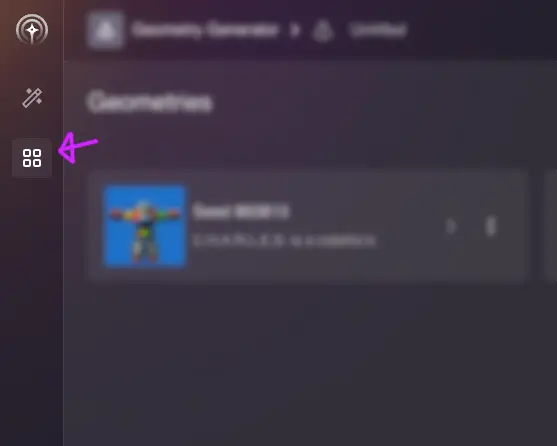
You can find your gallery of 3D models by clicking the Gallery button along the left side of the screen.
This is an iterative, creative process though, so you might want to go back to the “Prompt” tab to tweak your description. In my case, I changed the prompt to:
And I selected this preview:
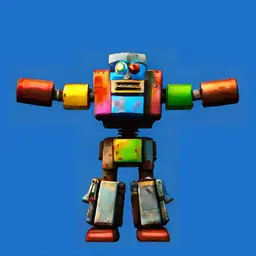
To make this 3D model:
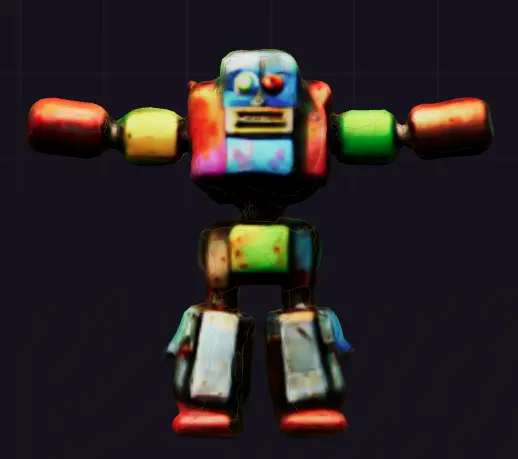 See it in 3D here .
When you're viewing your mesh on the 3D stage, you'll see buttons in the upper right corner.
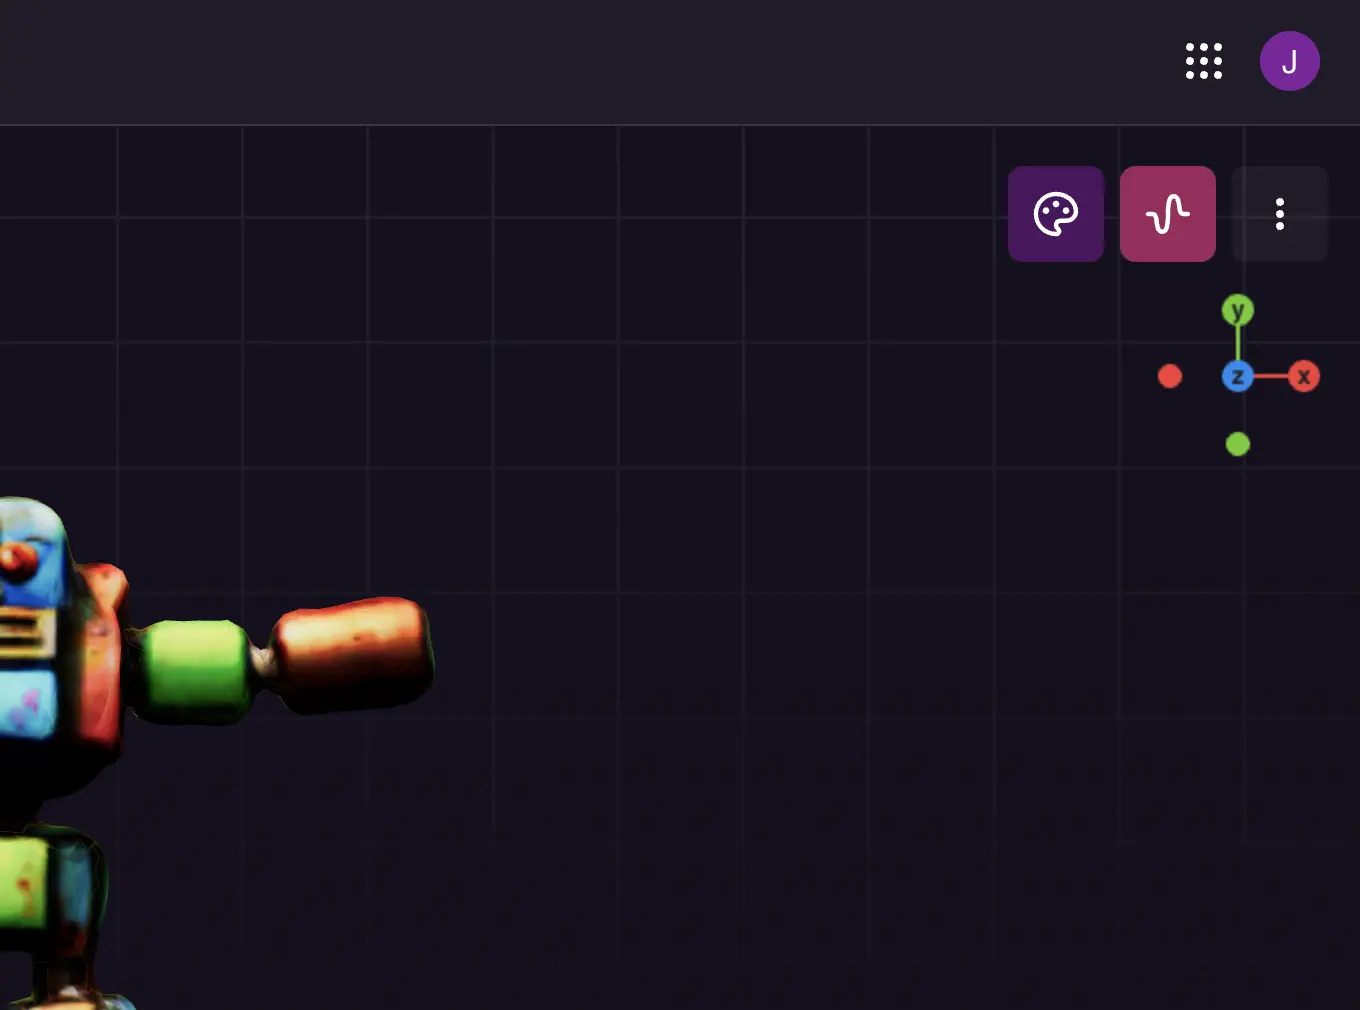
The palette button will open your character in the Texture Generator while the wave button will open your character in the 3D Animator. I clicked the Texture Generator button so I could use AI tools to refine the UV-unwrapped material on C.H.A.R.L.E.S.
AI powered UV-unwrapped materials
Opening the Texture Generator this way automatically loads the character and the prompt used to create it. It also sets the AI strength to 30%. The strength parameter controls how much the AI can alter the existing texture. 30% is appropriate for small refinements. 100% will give the AI full control.
In this case, I’d like to use the Texture Generator to upscale my texture to a higher resolution, so all I need to do is click “Preview.” As in the Geometry Generator, the Preview button will show me a series of images representing the design of my completed asset. Because of my low strength setting, these should all look very similar to my existing character. I selected the first of these previews.
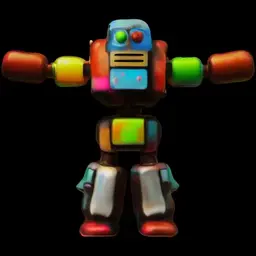
For texture generation, you have the option to choose to upscale your image to a higher resolution. This processing takes longer, but it produces a higher quality material.
You may see details or artifacts that you don’t like when you view your newly textured character. This is a perfect opportunity to use the Patch Tool. Click the paintbrush icon to activate the Patch Tool. You can now paint on an area you’d like to change. Then click the Generate button to produce a new texture patch. When complete, you’ll have the opportunity to view two options.
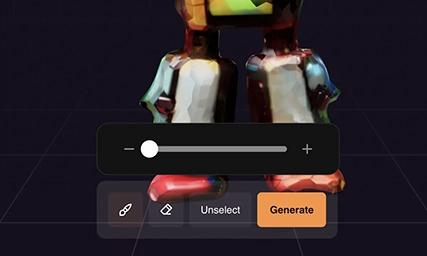
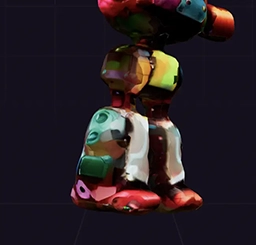
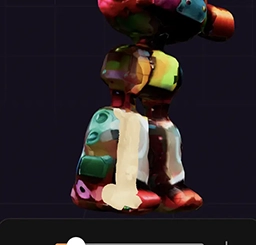
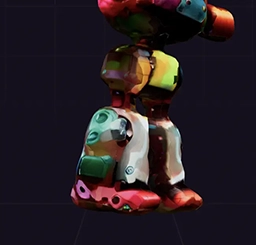
You can continue to touch up the texture however you like. You can see my final textured character here .
3D animation tools bring your character to life.
Now, I'm ready to bring C.H.A.R.L.E.S. to life with the AI powered 3D Animator tool. When viewing your textured character in the Texture Generator, you'll see the wave button in the upper right corner. I clicked that button and launched a new 3D Animator project with my robot pre-loaded. The auto-rigging process started automatically. This only takes a few seconds.
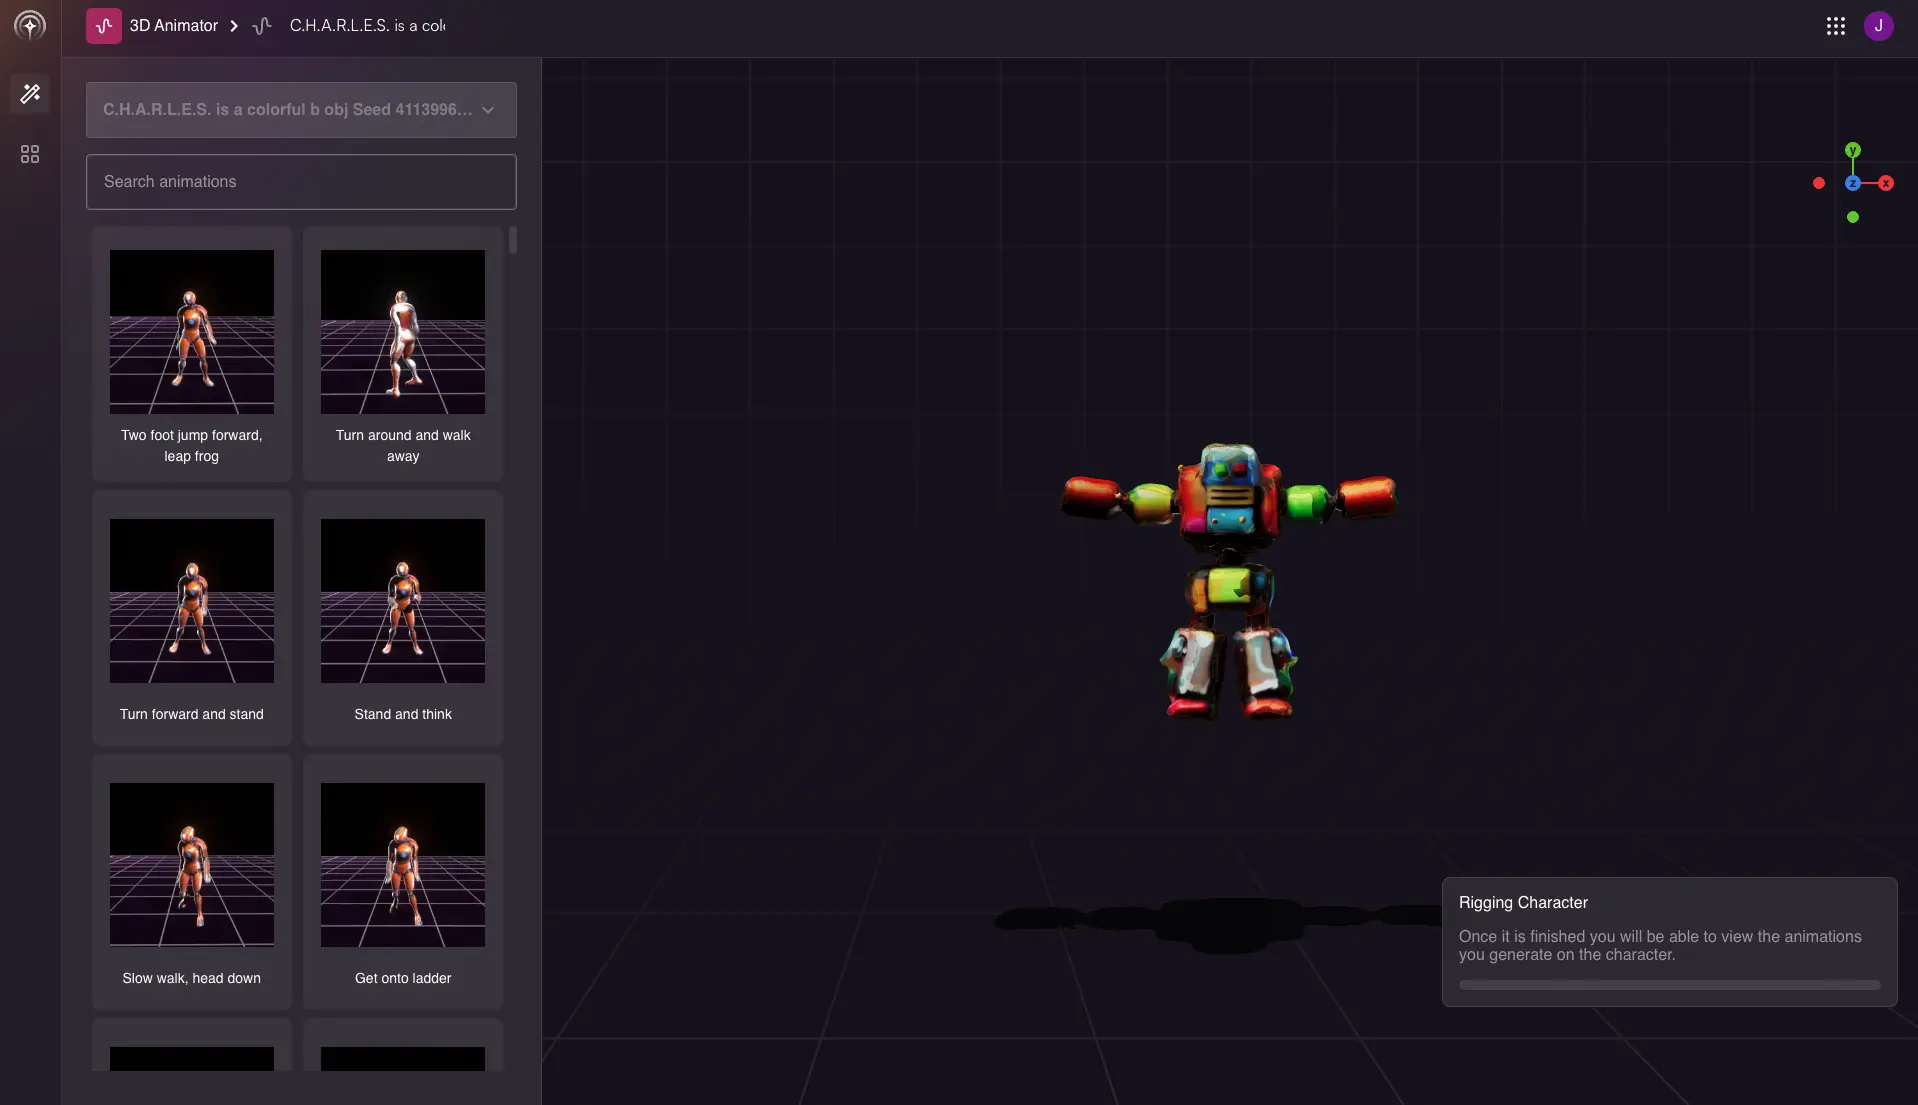
Once your character is rigged and skinned, you can choose motions from the motion library along the left side. The motion library has a wide assortment of animation data that can be retargeted to your specific character. I searched for "strafe left" and selected the animation I liked.
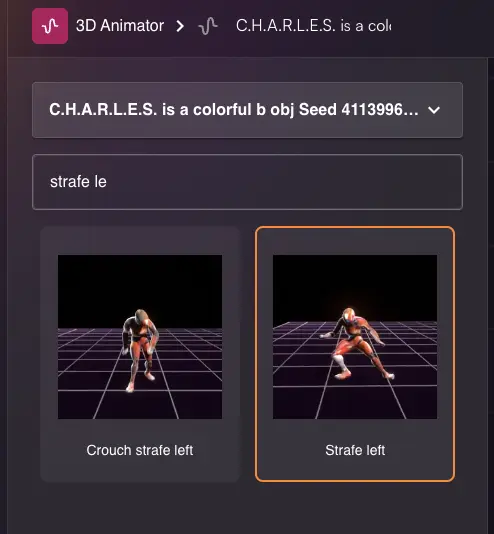
When you find something you like, you can click the "Generate Animations" button. This starts the animation retargeting process, which you can follow in the Gallery view. Animation retargeting only takes a few seconds to complete. When it is done, you can click on the thumbnail in the gallery to see your character perform the animation on the 3D stage.
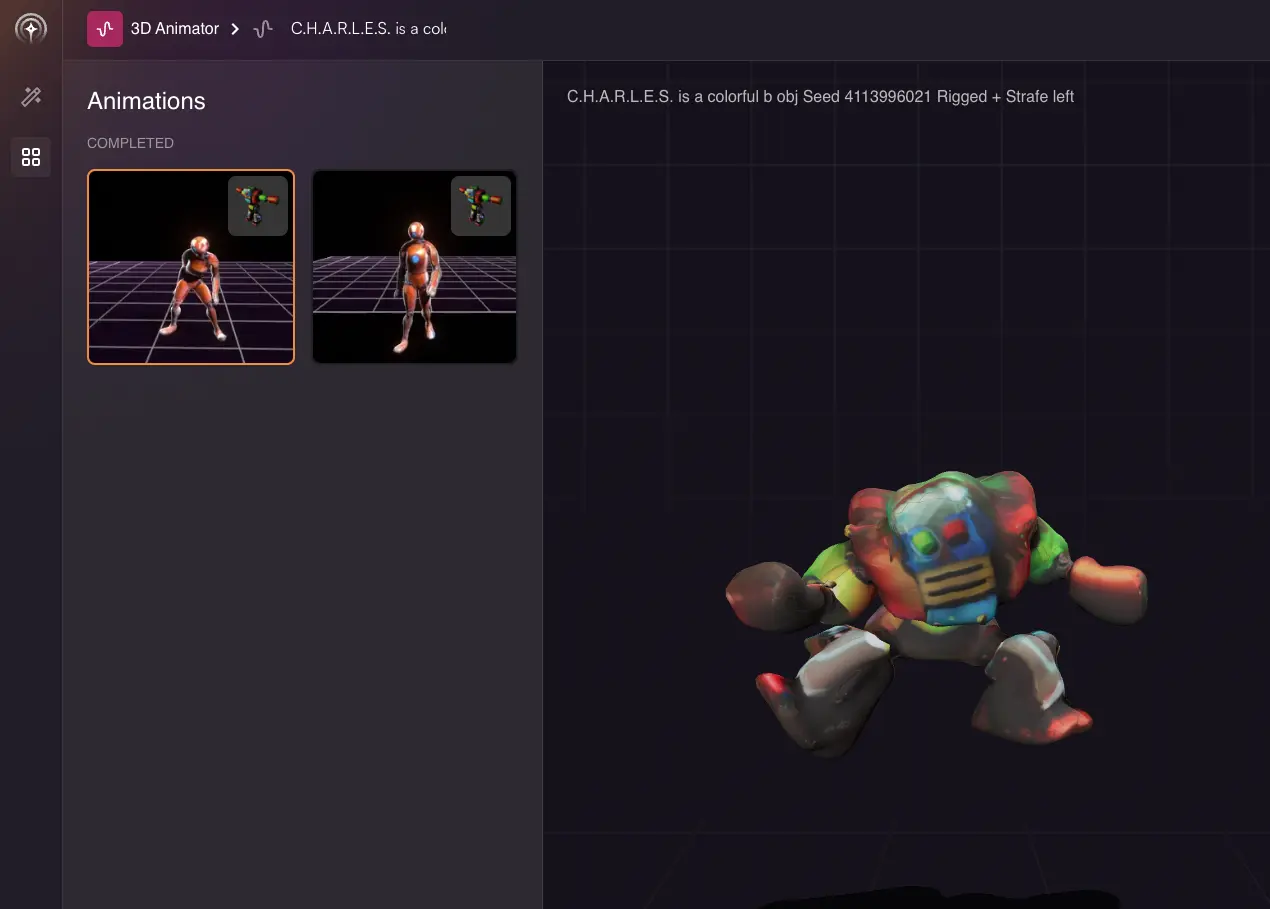
Now that you have an animated 3D character, you can export the FBX file to load into an external editor or engine, like Blender, Godot, or Unity. If you'd like to learn more about integrating your characters in playable games, check out this video about building Roblox NPCs:
C.H.A.R.L.E.S. is ready to get to work piloting starships while the meat based aliens on-board sleep in suspended animation. In the meantime, you can get started making your own 3D animated characters using Charmed AI tools!
